Dryer Vent Line Installation: Plan It, Install It, Pass Inspection
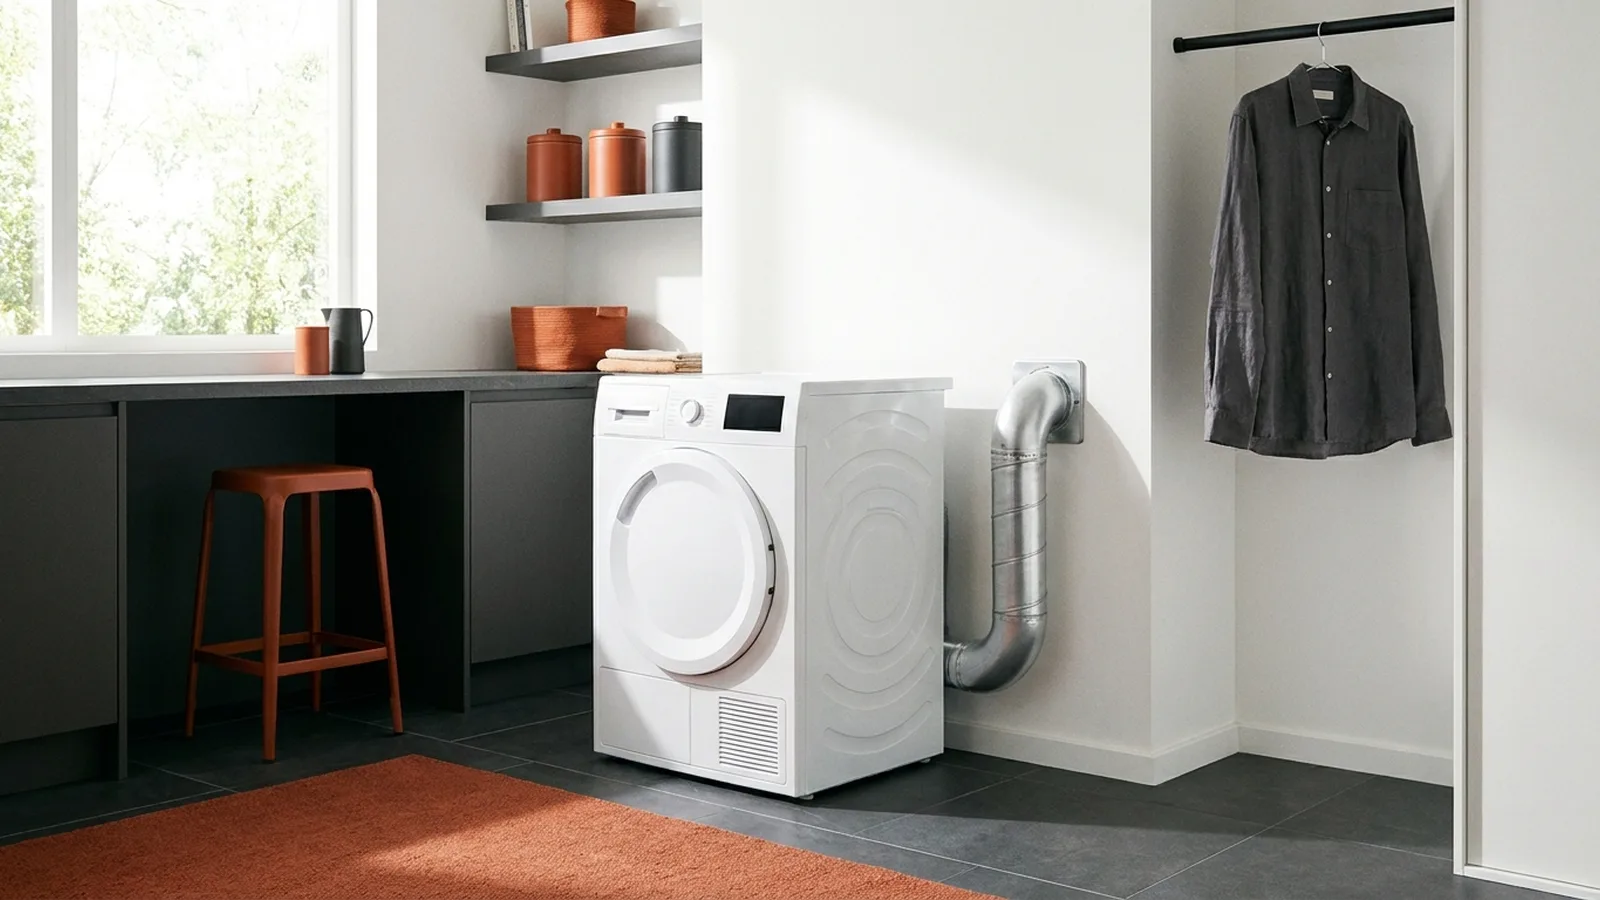
Thirty-five feet. That’s the default longest dryer duct the International Residential Code allows, and longer runs need extra approval and a label. Say a homeowner moves the laundry upstairs and starts sketching the route. Ten feet of duct looks easy on paper. Then comes a joist, two bends, a brick wall, and a pricey quote. Is it really a weekend job or a call to a pro?
For most electric dryers it’s a weekend DIY, and dryer vent line installation goes well when you do the math before you buy a single part. A bad run doesn’t just slow your laundry. It traps lint and heat, and dryers cause thousands of house fires every year.
This guide gives you the length budget, the parts list, the steps, and the checks an inspector will use. It’s one piece of keeping a laundry room running well, alongside fixing common washer and dryer problems.
Executive Summary
You’ll finish this guide knowing exactly how long your vent can be, what to buy, and how to install it so it passes inspection and dries a load in one cycle. Four ideas do most of the work.
First, the manufacturer’s manual beats any generic number, so dryer vent line installation starts with reading it. Second, every elbow quietly eats several feet of your length budget, and the worked table below shows how to count them. Third, the transition duct behind the dryer is usually the weak link, not the wall duct. Fourth, gas dryers are where DIY ends. The vent job and the gas line are separate jobs, and the gas side belongs to a licensed pro.
Local codes vary, so check yours before cutting anything.
What is a dryer vent line, and how is it different from the hose behind the dryer?
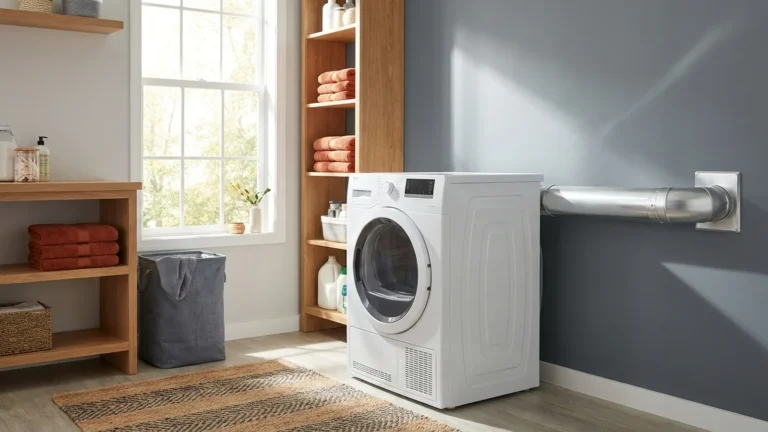
The dryer vent line is the fixed exhaust duct that carries hot, damp air from your dryer to an outside hood. The hose behind the machine is a short transition duct that connects the two. People mix up the terms constantly, but they’re different parts with different rules, and the line is the piece that gets hidden inside walls.
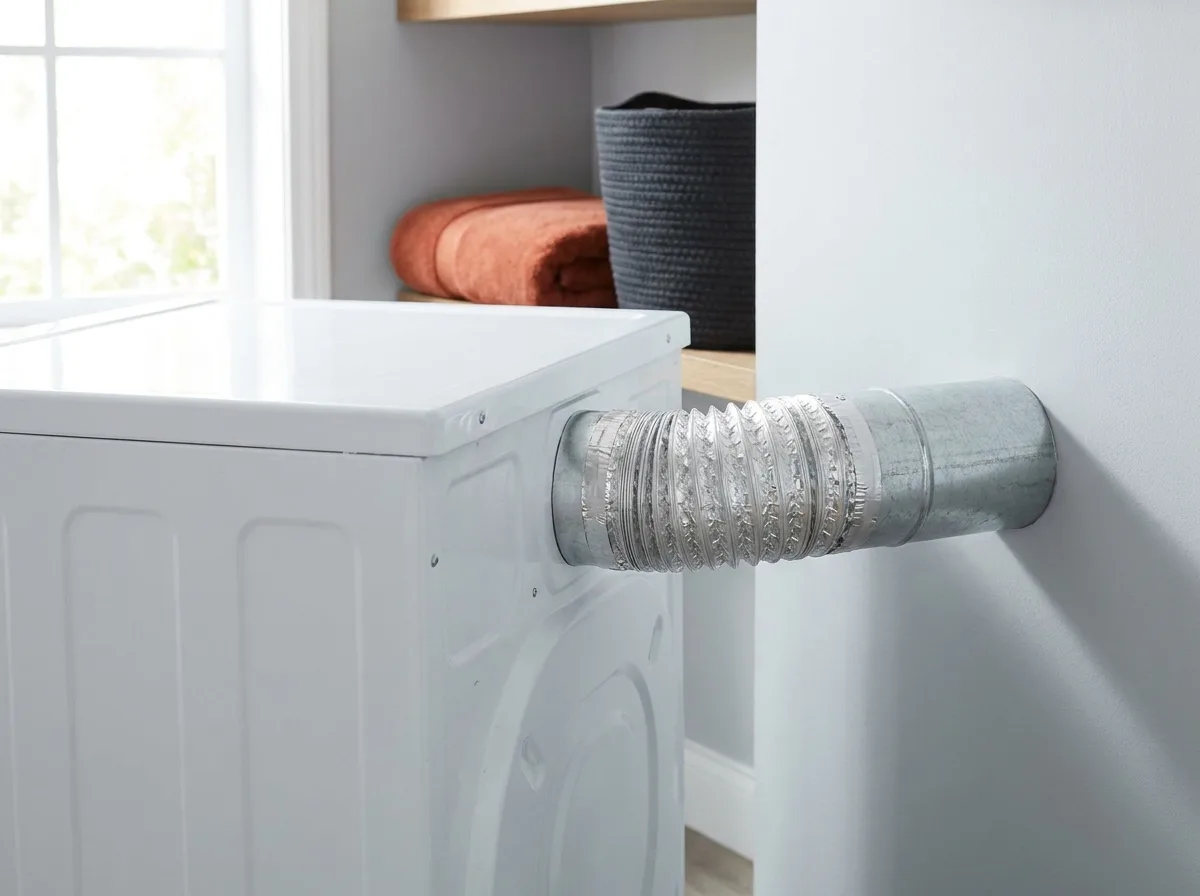
The transition duct is the short, visible connector. The line is the permanent run from the wall port to the exterior hood. That split explains most buying mistakes, because a flexible foil hose works as a transition piece but not inside a wall, where its ridges catch lint.
Is dryer vent line installation a DIY job or a pro job?
Electric dryer vent line installation is a reasonable DIY job if you can use a drill and a hole saw and can reach the exit point. Hire a licensed pro for gas dryers, roof exits, structural cuts through joists, and any run you can’t measure. Cost and risk both rise fast once the route leaves a simple wall.
Here’s a simple decision rule:
- DIY if the dryer is electric, the exit is a siding or wood wall, and the run is short.
- Pro if the dryer is gas, the exit is through the roof, or brick would need core drilling.
Gas dryers deserve blunt advice. A poor vent can push carbon monoxide into the house, and the gas connection is regulated work in most places. Venting and gas piping are separate jobs, so ask before you book.
How long can the exhaust duct run before it breaks code?
The International Residential Code sets 35 feet as the default maximum for the exhaust duct from the dryer to the outside, not counting the transition duct. Longer runs are allowed only as the dryer manufacturer’s instructions permit or with a power ventilator, plus a label. Many manuals state a shorter limit, often 25 feet.
Legal doesn’t mean good. A dryer vent line installation at the maximum length works on paper. Long runs mean longer drying times, and drying time is the real cost on your power bill. If you can pick a shorter route, take it.
When the equivalent length goes past 35 feet, the code expects a permanent label showing the maximum length. Supports are needed at least every 12 feet, and the termination must sit at least 3 feet from any window, door or other opening.
How do you budget length with elbows?
Fittings count as extra length. Commonly cited values are 5 feet for each 90 degree elbow and 2.5 feet for each 45 degree elbow. The exact table varies by manual, so confirm yours. Here’s a worked budget.
| Your run | Limit used | Budget math | Straight duct allowed |
|---|---|---|---|
| Two 90s, manual says 25 ft | 25 ft | 25 minus 10 | 15 ft |
| One 90 and one 45, code limit | 35 ft | 35 minus 5 minus 2.5 | 27.5 ft |
| One elbow, LG table, 4 inch rigid duct cap | 55 ft | Table already counts the elbow | 55 ft total |
Each row subtracts fittings from the strictest number that applies. LG’s support table lists 65, 55 and 47 feet for zero, one and two elbows with a 4 inch rigid duct cap, and LG deducts 6 feet for each extra elbow, not 5. Use your model’s own manual.
Which duct and parts do you need for dryer vent line installation?
You need 4 inch rigid metal duct, a few 90 degree elbows only if the route demands them, foil tape rated UL 181, an exterior hood with a damper, a 4 1/4 inch hole saw, and a short transition duct. Skip duct tape, vinyl or plastic duct, and screws in the joints.
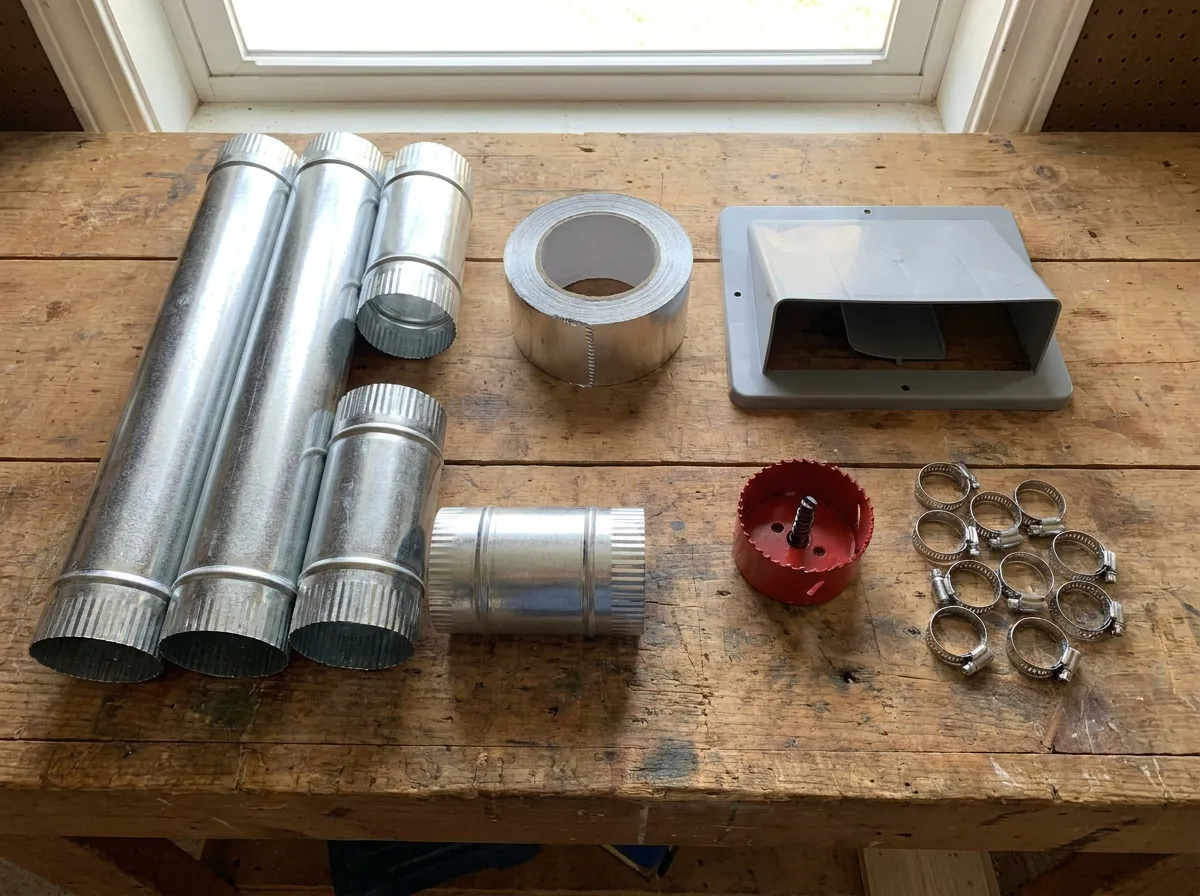
Rigid galvanized or aluminum duct is the best choice inside walls because its smooth interior doesn’t snag lint. Semi-rigid is acceptable for the short connector behind the dryer but I’d never bury it in a wall. Flexible foil ridges trap lint and sag over time.
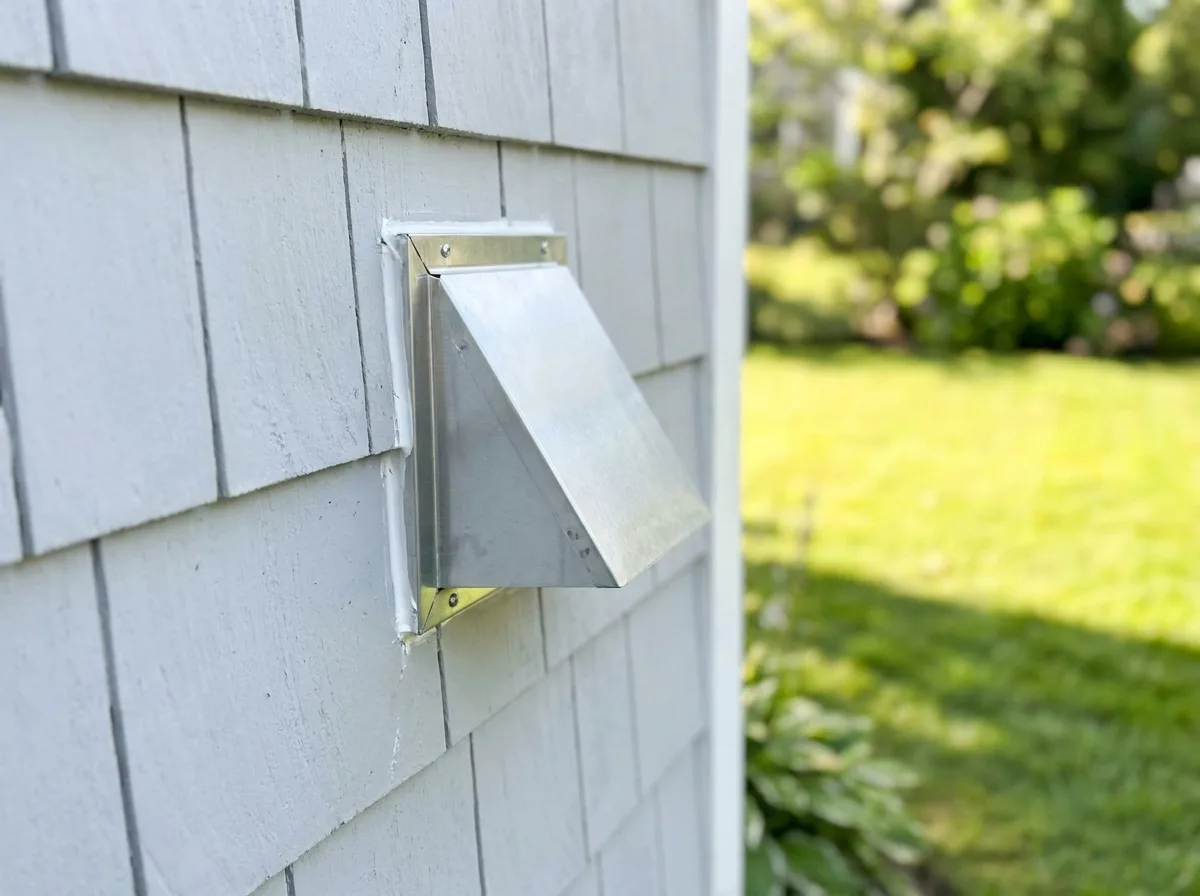
A hood with a flapper stops wind, pests and cold backdraft. Louvered caps and roof caps have their own airflow ratings, so match the cap to the manual. Worm-gear clamps hold the transition duct and foil tape seals the rigid joints. Screws poke into the airflow, and lint hangs on every point.
Ordering for a Whirlpool? A guide to Whirlpool washer parts helps you shop by model.
How do you do dryer vent line installation step by step?
Plan the shortest straight path, drill the exit hole, mount the hood, assemble the rigid duct from the dryer toward the outside, support it, seal each joint with foil tape, and connect the transition duct. Allow a rough estimate of 3 to 5 hours for a first run.
Say a homeowner has a basement dryer and a sidewall 12 feet away. The steps go like this.
- Measure and plan. Mark the route and count elbows against your length budget.
- Mark the exit. Drill a pilot hole from inside, then check outside for clearance, 3 feet from openings.
- Cut the hole. Use a 4 1/4 inch hole saw for wood or siding.
- Mount the hood. Seal the flange with exterior caulk.
- Build the run. Point the male end of each duct section downstream, so lint is pushed along and not caught on a lip.
- Slope it. Many installers use about 1/4 inch per foot toward the outside so moisture drains out.
- Support and seal. Hang straps at least every 12 feet and wrap each joint with foil tape.
- Connect the dryer. Use a short transition duct and a clamp.
Skip the flex under the house. A taped foil hose crawling through a crawlspace is a common mistake, and the usual advice is blunt: yank it out and redo it with hard pipe.
How do you run the vent through siding, brick, a finished wall, the floor or the roof?
Siding and wood walls are the easiest exits. Brick and masonry need a masonry bit or core drill. Finished walls need careful cutting and a straight shot between studs. Floors and crawlspaces are workable if you keep the duct clear of insulation. Roofs call for a pro and flashing.
Each wall type has its own tool and its own snag.
| Exit | Tool | Typical snag |
|---|---|---|
| Siding or wood wall | 4 1/4 in hole saw | Finding studs and wiring first |
| Brick or masonry | Masonry bit or core drill | Dust, mortar line placement |
| Finished wall | Drywall saw, stud finder | Wires and pipes in the cavity |
| Floor or crawlspace | Hole saw, hangers | Sagging duct, damp air |
| Roof | Pro install | Flashing, leak risk |
Cut near wires and pipes carefully.
Tight space behind the dryer is its own problem. A crushed hose there chokes airflow. A periscope-style duct runs up and over the machine so it can sit closer to the wall. A recessed dryer box sinks the connection into the wall cavity, which frees several inches. A magnetic or low-profile elbow connector also helps. Check that any of these fit your manual’s length and fitting rules, since each one still counts toward the length budget.
How much does dryer vent line installation cost?
Cost depends on the route. Published estimates from installer sites commonly run about $150 to $300 for a short wall exit and $400 to $800 or more for a roof exit. DIY cost is mostly duct, tape, a hood and a hole saw. Length, wall type and access drive the price.
Treat those numbers as ballpark figures, not a quote. The big drivers are run length, brick versus siding, a finished ceiling, and whether the dryer is gas. The gap between a pro quote and DIY parts is real, but a pro is the cheaper option when a mistake means opening drywall. If the dryer misbehaves afterward, check why a dryer won’t spin before blaming the vent.
What do inspectors look for, and what mistakes fail?
Inspectors check the duct size, material, length and label, the support spacing, the clearance of the hood from openings, and whether the dryer vents outside. Typical failures are foil flex inside walls, screws in joints, duct tape, a missing damper and a run that exceeds the manual.
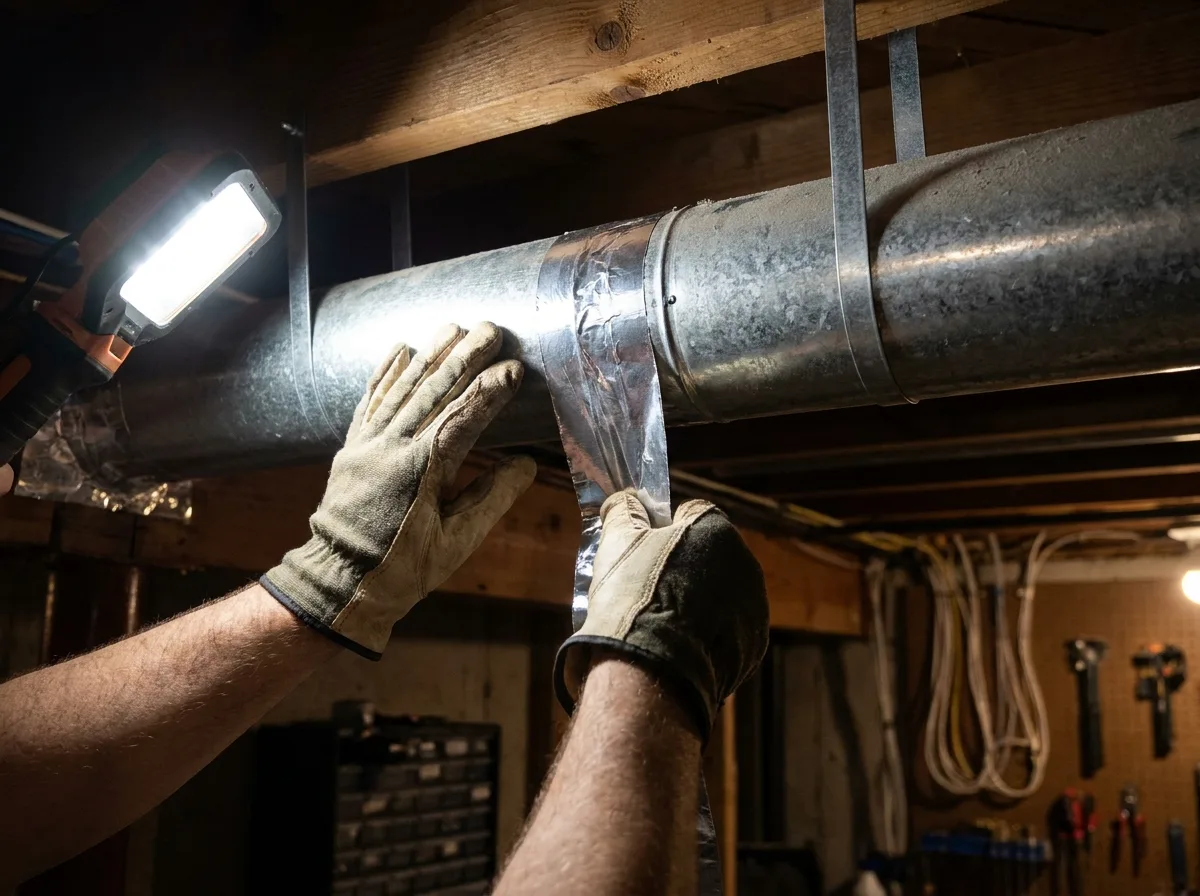
Run the dryer on high for a full cycle. Feel for strong airflow at the hood. Check for no lip inside any joint, correct slope, and a damper that opens fully. A weak flow means a crushed transition duct or too many bends.
Common mistakes and fixes:
- Duct tape on joints. It dries out and peels. Use foil tape.
- Crushed transition duct. Pull the dryer forward and shorten the connector.
- Screws in the line. Remove them and seal with tape.
- Run beyond the limit. Reroute shorter, or have a pro size a booster fan.
For the dryer exhaust basics beyond this guide, see the broader exhaust walkthrough.
Frequently Asked Questions
Does a dryer have to vent outside?
Yes, in almost every case. A vented dryer pushes hot, damp air and lint that need to leave the house. Only condensing and heat pump dryers work without an exterior vent. The myth that a lint bag makes indoor venting safe is simply wrong, since moisture and, with gas dryers, carbon monoxide stay indoors.
Can I use flexible foil duct in the wall?
No. Flexible foil duct has ridges that catch lint, and it can sag or crush inside a wall, which cuts airflow. Use rigid metal duct for any concealed run. Semi-rigid is acceptable only for the short connector behind the dryer. If you already have foil flex in a wall, replacing it is among the best safety upgrades you can make.
How far can a dryer vent run?
The International Residential Code sets 35 feet of 4 inch duct as the default limit, not counting the transition duct. Longer runs need the manufacturer’s allowance or a power ventilator. Many manuals say 25 feet, and every elbow reduces the allowed length, commonly by 5 feet for a 90 degree bend. The dryer’s manual controls the final number. Shorter is always better for drying time, so pick the most direct route you can.
Can I run a dryer vent upward?
Yes, but upward runs fight gravity and lint settles at the bottom of vertical sections. Keep the run as short as possible, use rigid duct, and count the elbows against your length limit. A vertical run through a roof is a pro job because of flashing and leak risk. Check your manual for any vertical limits.
Is duct tape OK for dryer vent joints?
No. Duct tape dries out under heat, peels, and lets lint and moisture escape into the cavity. Use foil tape rated UL 181 on rigid joints, and a worm-gear clamp on the transition duct. Whirlpool’s own how-to recommends foil tape. The name "duct tape" is a classic trap, since it’s the wrong tape for ducts.
Do I need a permit for dryer vent line installation?
It depends on where you live. Some areas may not require a permit for replacing a vent, while new routes, structural cuts or gas dryer work may need one. Local codes vary, so call your building department before cutting. An inspector who finds a nonconforming run can require you to redo it, which costs more than the phone call.
Can I use a booster fan on a long run?
Sometimes. A booster fan, also called a duct power ventilator, can help when a run exceeds the standard limit, but it must be rated for dryers and follow the manufacturer’s instructions. Over 35 feet of equivalent length, the code also asks for a permanent label. Try the shortest route first, and treat a fan as the last resort.
Can I vent into the garage or attic?
No. Exhaust belongs outdoors, at least 3 feet from windows, doors and other openings. Venting into an attic or garage dumps moisture and lint where they cause mold and fire risk. The vent must terminate outdoors, not within 3 feet of ventilated soffits. If an old vent ends in a dead space, test it before buying new parts, then reroute it.
How often should the vent be cleaned?
Most guidance suggests every 1 to 3 years, sooner for large families or long runs. NFPA data for 2010 to 2014 attributes about a third of dryer fires to failure to clean. Clean the lint screen after every load. If clothes take two cycles, the line is probably clogged. See our washer and dryer repair guide for other warning signs.
Can I install a gas dryer vent myself?
The vent duct itself follows the same rules as an electric one, but the gas connection and combustion safety belong to a licensed pro. A bad vent on a gas dryer can send carbon monoxide indoors. Hire a pro for the gas line, and have the vent inspected. Local codes vary on who may do which part.
Conclusion
Good dryer vent line installation comes down to arithmetic and patience. Budget your length with the elbows, choose rigid metal inside the walls, seal with foil tape, and let the manual overrule any generic number.
Back to that homeowner with the upstairs laundry. The ten-foot sketch turns out fine once two elbows are counted, the straight segments are rigid, and the hood is checked for clearance. A short plan on paper can save an expensive call.
Your next step is to open your dryer’s manual and write down its length limit.
For related reading, try how to troubleshoot a dryer that won’t spin or the best laundry detergent for your washer. Is your current vent short enough to pass?