Dryer Exhaust Installation: Plan, Cut, Duct and Test It Right
Four inches. That is the diameter of the duct that carries about a gallon of water out of your house with every load of laundry, according to the Pacific Northwest National Laboratory’s Building America guide. When that duct is crushed behind the machine, packed with lint or sagging in a wall cavity, the water and the heat have nowhere to go. A bad dryer exhaust installation often starts when a delivery crew hooks up a new machine with a foil hose in a few minutes. Towels need two cycles and the laundry room smells damp.
A good one is mostly planning. You measure the route, count the elbows, pick the right duct, then cut one clean hole. As a rough estimate, most first-timers should plan on a half day. This guide walks you through the decisions in the order you’ll face them, and it’s one part of keeping your laundry setup safe, alongside troubleshooting a dryer that won’t dry.
Executive Summary
By the end of this guide you’ll be able to plan a dryer exhaust installation that dries clothes well, lowers lint buildup and is more likely to meet local code. You’ll know how to calculate the real length of your run, why smooth rigid metal beats foil, and where the outside cap belongs on the wall.
Three insights save the most grief. First, elbows count as extra feet, so a short-looking run can still be too long. Second, a bigger duct is not a better duct. Keep it at 4 inches. Third, when a run is too long, shorten it before you buy a booster fan.
The biggest objection is usually "can’t I just hire someone?" You can, and sometimes you should. The cost section shows where a pro is the cheaper option. Local codes and your dryer’s manual always have the final word, so check both before you cut anything.
Does a Dryer Have to Be Vented Outside?
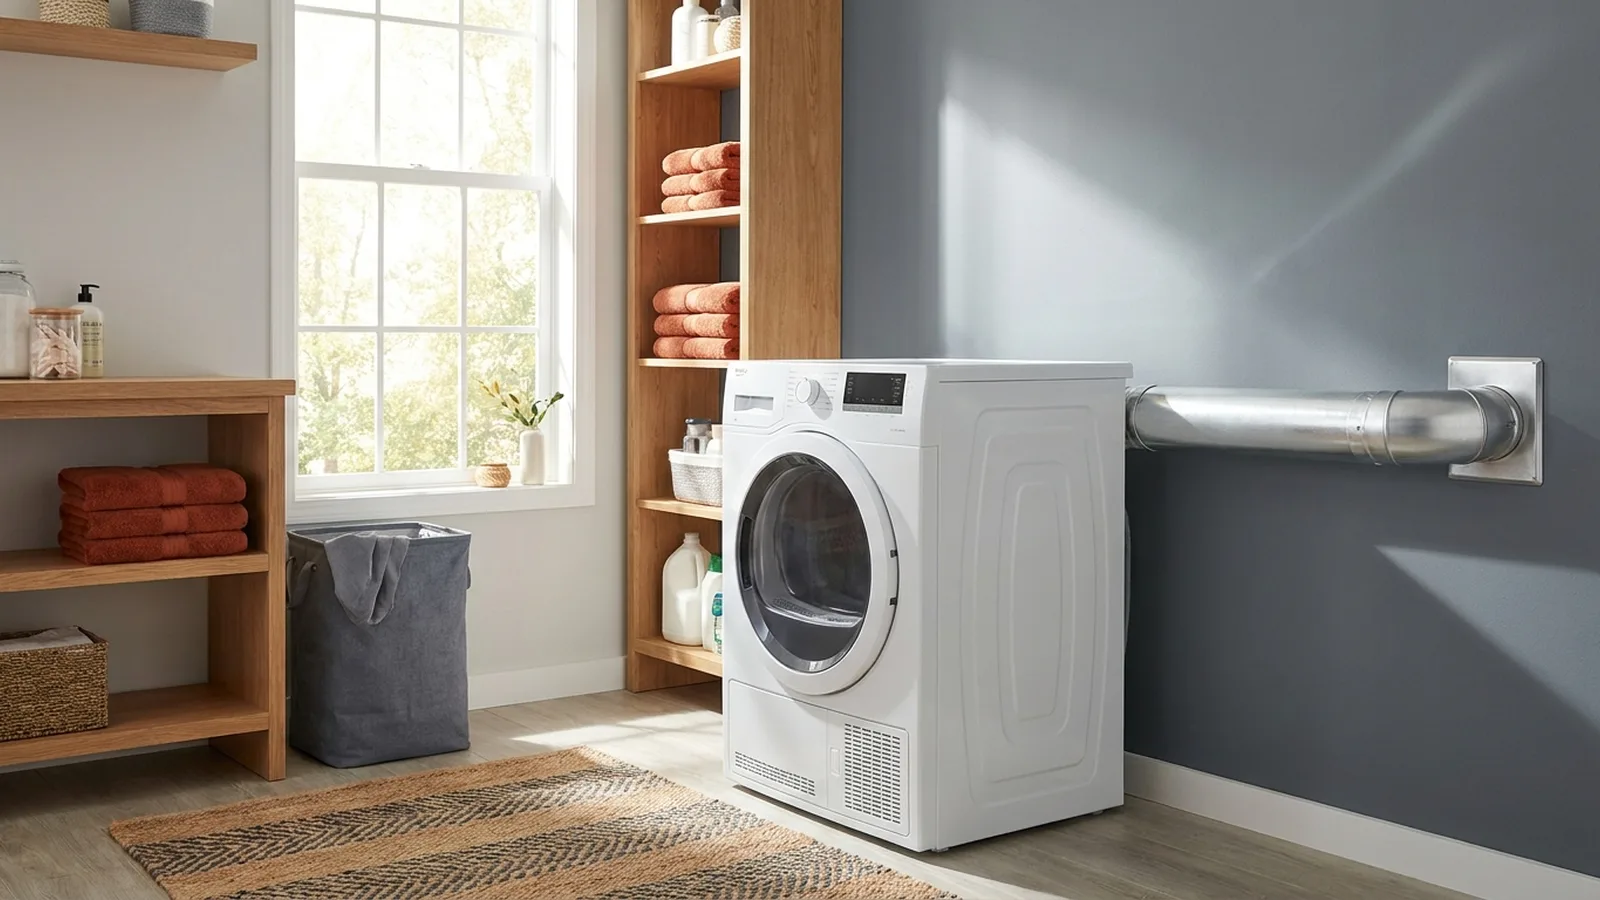
Yes. Every gas dryer must vent outdoors, and electric dryers should too. The exhaust carries moisture, lint and heat, and a gas model also releases combustion gases including carbon monoxide. Venting into a basement, attic or crawlspace dumps that load into the building, where it feeds mold, rot and lint buildup.
The tempting exception is the electric dryer in winter. Indoor lint-trap kits promise free heat, but the warnings on r/Frugal and r/Appliances are consistent: mold, damp walls and fine lint in the air. A cracked window doesn’t count as venting either. My view is plain: vent outside, and if that’s impossible in your space, look at a heat pump or condensing dryer instead (more on those near the end).
How Long Can a Dryer Exhaust Duct Be?
The common limit for smooth metal duct is 35 feet of developed length, meaning straight run plus a penalty for every bend. Subtract 5 feet for each 90 degree elbow and 2.5 feet for each 45 degree elbow. Your dryer’s manual can allow more or less, and the manual wins.
Panasonic, Ferguson and PNNL all use this arithmetic for a dryer exhaust installation, and it’s based on the International Residential Code (section M1502). Local amendments vary, so ask your building department. Here are three illustrative layouts:
| Layout | Straight duct | Bends | Developed length | Verdict |
|---|---|---|---|---|
| Laundry closet on an outside wall | 6 ft | none | 6 ft | Easy |
| Basement dryer, out through the rim joist | 20 ft | two 90s | 30 ft | Fits |
| Interior room, long route | 28 ft | two 90s, one 45 | 40.5 ft | Too long |
I judged each row by adding the straight feet to the bend penalties, then comparing the total with the 35 foot default. The third layout fails by 5.5 feet. Move the dryer, change the exit wall or check the manual.
One Reddit user claims some models are rated for runs up to 80 feet, with a plaque on the machine. I couldn’t verify that, so read your own installation sheet before trusting any number from a forum, including this table.
Which Duct Is Best: Rigid, Semi-Rigid or Flexible Foil?
Rigid smooth metal duct is best. Its smooth walls let air flow freely and give lint nothing to catch on. Semi-rigid works for the short jump from the dryer to the wall. Flexible foil is the worst choice, since it sags, crushes and traps lint in every ridge.
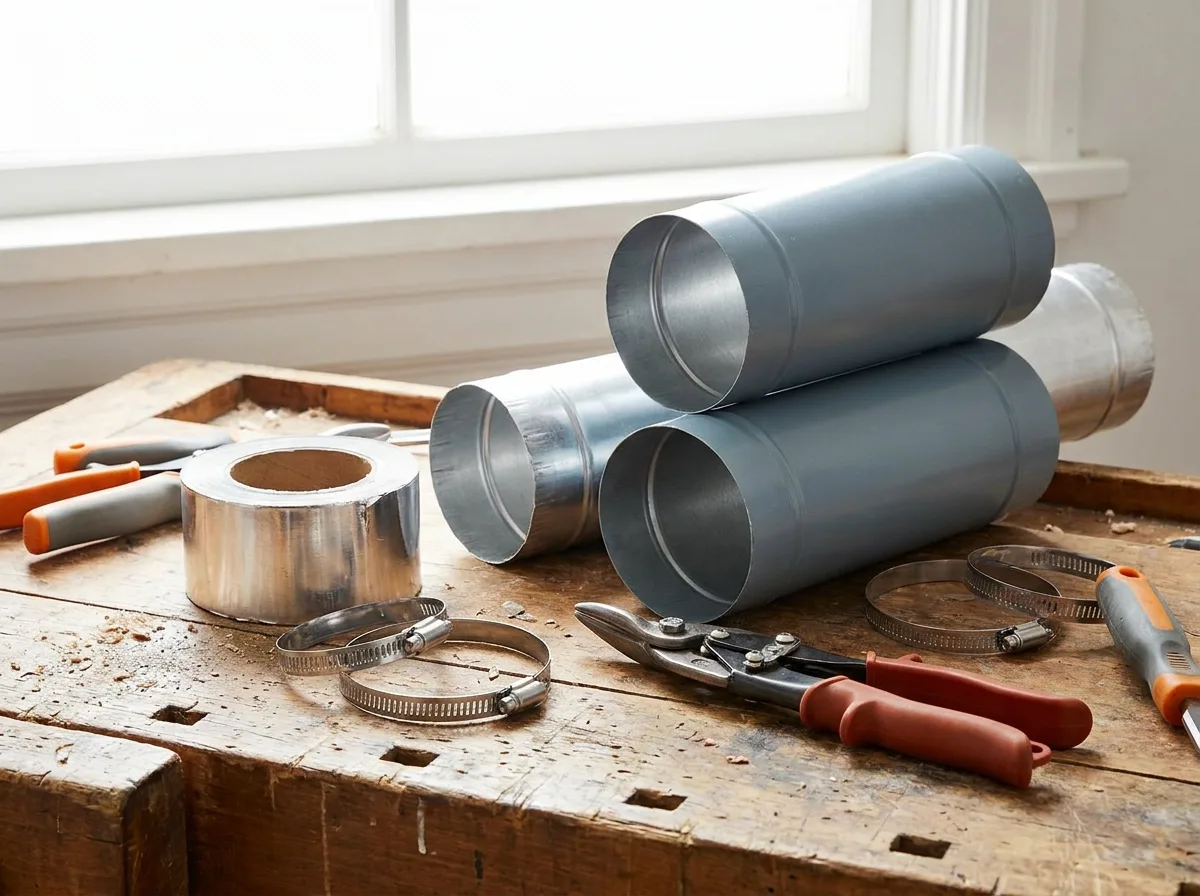
Rigid aluminum or galvanized steel is the standard pick for a dryer exhaust installation, per PNNL and Panasonic. The short connector, called a transition duct, may be up to 8 feet if it’s listed under UL 2158A. Ferguson and the code both point to 4-inch diameter.
Does upsizing to 6 inches help? No. Air speed drops and lint settles.
Pick rigid for any hidden or long run, semi-rigid only behind the machine, and skip foil unless your manual permits it. Seal joints with foil tape (UL listed) or clamps, never with screws that poke into the airflow, because lint hangs on the tips. Duct tape dries out and fails.
How Do You Do a Dryer Exhaust Installation Step by Step?
Plan the shortest straight route, mark and cut the exterior hole, fit the vent hood, run rigid duct back to the dryer, seal every joint with foil tape, connect the transition duct, then test. As a rough estimate, a confident beginner should plan on a half day for the whole dryer exhaust installation, longer if the wall is brick or stucco.
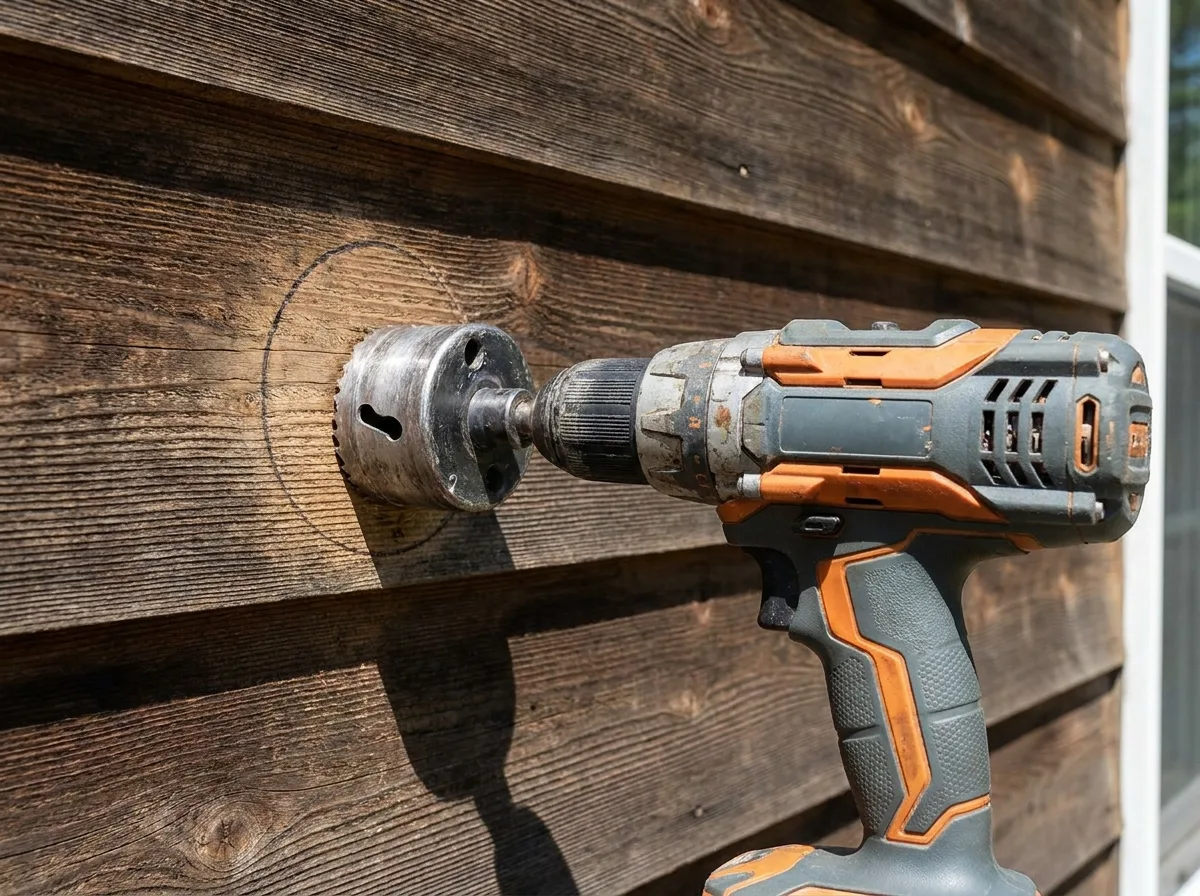
You’ll need a 4-inch hole saw, a drill, tin snips, foil tape, clamps, exterior sealant, a vent hood with a damper and a stud finder. One forum user put a 4-inch hole saw at about $45, so rent or borrow one if you’ll only cut once.
- Check the rules. Call your local building department and read the dryer manual. Some areas require a permit.
- Map the route. Pick the shortest path to an outside wall. Horizontal runs beat vertical ones. Add up the developed length from the table above.
- Mark the exit. Drill a small pilot hole from inside, then check outside for obstacles. Keep the cap at least 12 inches above grade.
- Cut the hole. Use the 4-inch hole saw from outside, in short bursts. Add a wall sleeve if the siding needs it.
- Install the hood. Slide it in, with the damper free to swing, then seal around the flange with exterior sealant.
- Run the duct. Work from the outside inward. The male end of each section faces the direction of airflow, so lint can’t snag on seams. A common installer tip is a very slight slope toward the outside, but follow your manual. Support the duct every 12 feet.
- Connect and test. Clamp the transition duct to the dryer, push the machine back gently and run an empty heat cycle. Watch the hood flap open.
A cheap trick from a video comment, not tested here: set a wood block behind the dryer so it can’t squish the duct. A recessed dryer vent box does it more neatly, and your manual has the final say on clearances.
Where Should the Exterior Vent Go?
Place the cap on an exterior wall at least 12 inches above the ground, 3 feet from any door, window or air intake, and 10 feet from an air conditioner condenser. Keep it away from gas meters. A wall exit is the best choice. Roof, floor and crawlspace exits are fallbacks.
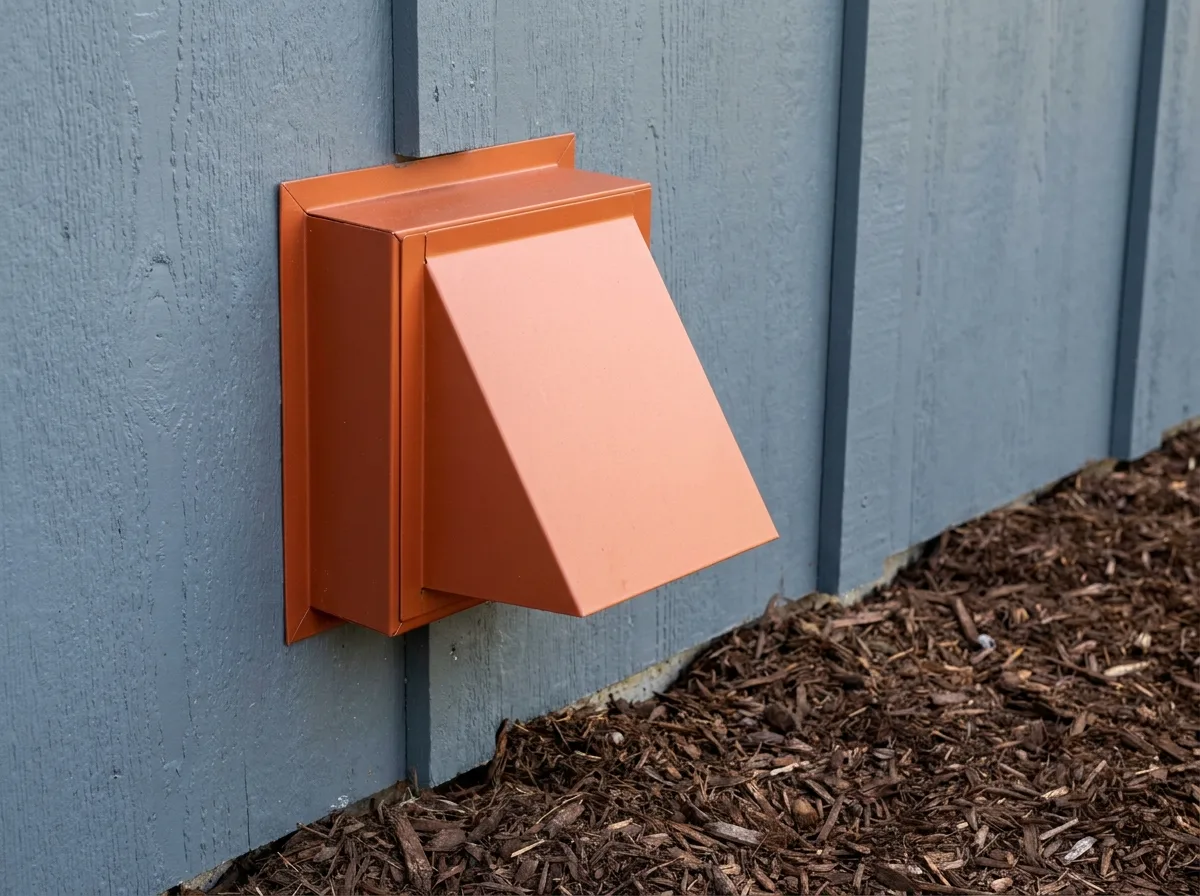
Those clearances for a dryer exhaust installation come from PNNL and Panasonic. Skip the screen, because lint clogs it.
When a wall isn’t possible, here’s how the alternatives compare:
| Exit | Works when | Catch |
|---|---|---|
| Roof | Dryer sits under a straight attic path | Roof cuts are structural, so use a licensed pro and check permits. Snow can block it, and one homeowner reported clothes that stopped drying |
| Floor or crawlspace | A kit exists for your dryer | Lint and moisture collect below the house |
| Through the rim joist | Basement laundry | Cuts through framing, so a licensed pro or permit check is needed, and local code varies |
| Attic | Never | Dumps moisture into the structure |
If you plan to cut through a rim joist or roof, ask a licensed contractor about structural and flashing concerns. Local codes vary.
How Much Does Dryer Exhaust Installation Cost, and DIY or Pro?
Whirlpool puts a DIY dryer exhaust installation at roughly $150 to $250 in materials and a pro job at about $140 to $275. That’s a manufacturer’s figure, not an independent one. Long rigid runs and new hoods push prices up, and in those cases a pro is often cheaper.
Prices swing with run length, wall material and whether old duct must come out. One homeowner thread described paying about $350 for rigid duct and a new flap over a 35 to 40 foot run, and replies called it fair. Treat that as a sanity check, not a quote.
DIY wins when the route is short, the wall is wood siding and you own a drill. Hire a pro when the exit goes through brick, a roof or a structural member, or when the run is near the 35 foot limit and a mistake means redoing it.
What Mistakes Ruin a Dryer Exhaust Installation?
The usual culprits are crushed or foil duct, screws sticking into the airflow, duct tape on joints, a 6-inch duct, too many elbows, and trusting a delivery crew’s quick hookup. Fixing these costs far less than replacing a lint-packed wall or a fire-damaged room.
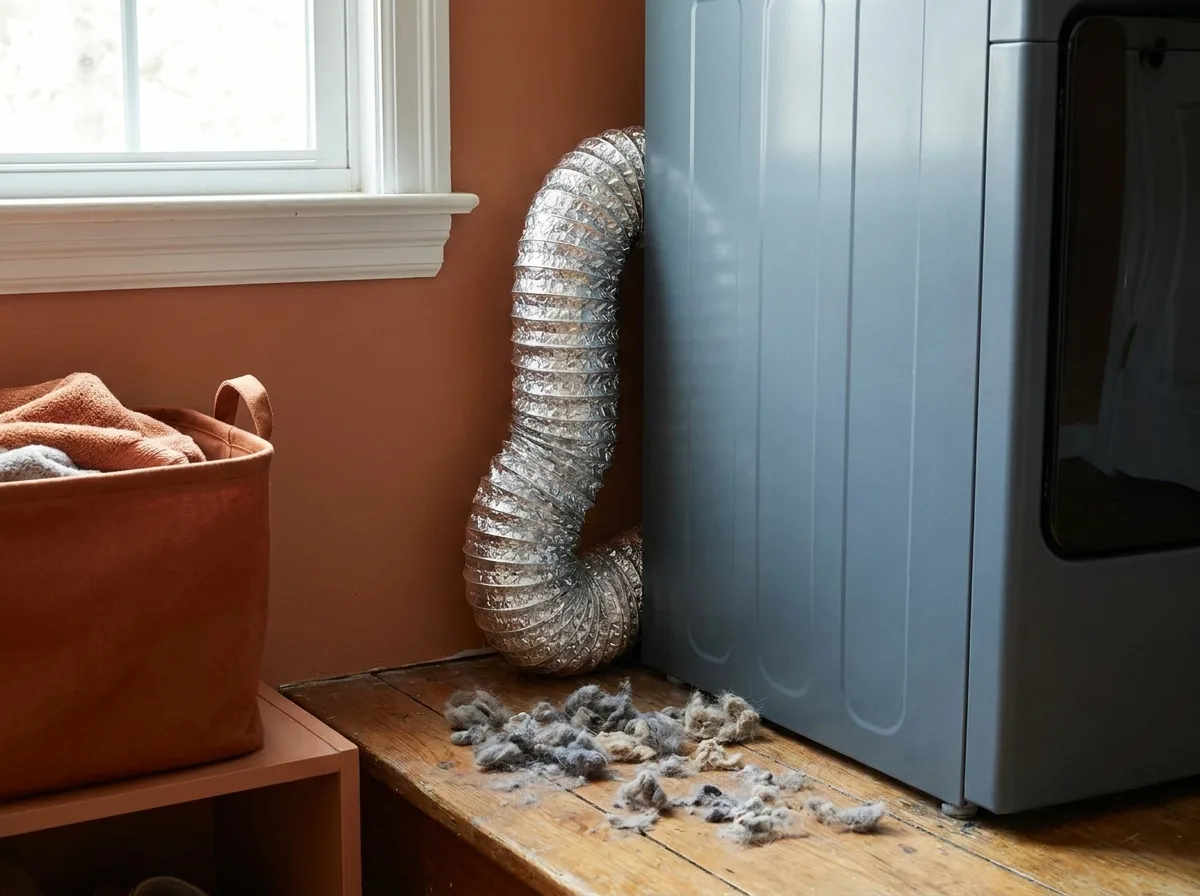
A common version of the delivery mistake: the crew attaches a foil hose in minutes, though the manual forbids foil. Replies on r/Appliances split between "that’s normal" and "that’s a fire risk." Code defers to manufacturer instructions, so photograph the install and check the manual before the crew leaves.
Long runs raise the booster fan question for any dryer exhaust installation. Shorten the run first. If that fails, add a booster fan plus a secondary lint screen ahead of it, as some homeowners advise. Test the finished job: you should feel strong airflow at the hood, and a load should dry in a normal cycle.
Frequently Asked Questions
Can I use duct tape on a dryer vent?
No. Duct tape’s adhesive dries and peels under heat, which opens gaps for lint and moisture. Use UL listed foil tape or metal clamps on every joint instead. Whirlpool says the same. Foil tape is inexpensive, and it holds up to the heat that makes duct tape curl and fail over time.
Is a 6-inch duct better than a 4-inch one?
No, and this is a common myth. Dryers have a 4-inch outlet, and codes call for 4-inch duct. A wider pipe slows the air, so lint settles instead of leaving the house. Keep the full run at 4 inches and shorten it if airflow is weak.
Can I vent an electric dryer inside in winter?
You can buy kits, but it’s a poor trade. Each load adds about a gallon of water to the room, plus lint. Mold and damp walls follow. Gas dryers must never vent indoors because of carbon monoxide. If you want to skip an outside duct, consider a heat pump or condensing model.
How high above the ground should the vent be?
At least 12 inches above grade, according to Panasonic’s guide. Keep it 3 feet from windows, doors and intakes, and 10 feet from an air conditioner condenser. In snowy areas, go higher, because buried hoods trap exhaust and wet lint against the wall.
Do I need a permit for dryer exhaust installation?
It depends on where you live. Simple wall exits often don’t need one, but roof penetrations and structural cuts sometimes do. Ferguson advises checking with your local inspector before you start. A five-minute call beats redoing finished work,.
How often should the dryer duct be cleaned?
Clean the lint filter after every load. For the full duct, common guidance is a periodic cleaning, so check your dryer manual or ask a cleaning pro what interval fits your run. If drying times creep up, check the duct, since a partly blocked vent is a frequent suspect. Cleaning costs vary by company and region.
Is flexible foil duct allowed by code?
Sometimes, but it’s the worst option. Many dryer manuals forbid it, and code defers to the manual. Foil crushes, sags and snags lint. Use it only if your manual explicitly allows it, and keep it short. Semi-rigid listed to UL 2158A is a better short connector.
Does the vent need a damper and a screen?
A damper, yes. It keeps cold air and pests out when the dryer is off. A screen, no. Pest screens clog with lint and block airflow. Pick a hood with a tight, free-swinging flap and check it each spring for lint, nests or a stuck damper, since any of them can choke airflow quickly.
Can a delivery crew’s install void my warranty?
It can complicate a claim. If the crew used materials the manual forbids, a manufacturer may point to that after a failure. Take photos of the hookup, read the installation sheet and ask the crew to fix any foil duct before they leave.
Does a longer vent just mean slower drying?
That’s the myth. Longer runs trap heat and moisture, and the dryer keeps running hotter and longer, which raises lint and fire risk. Past the manual’s limit, you’re risking safety, not only time, and a hot dryer in a clogged duct is where lint fires start. For related fixes, see our guide to washer and dryer repair.
Conclusion
A dryer hooked up in minutes with foil hose often fails because of the four inches behind it, not the machine. The unique takeaway of this guide is simple: dryer exhaust installation is a measuring job first and a cutting job second. Count your feet, subtract for bends, choose rigid duct and put the cap in a clear spot.
The cost of a careful dryer exhaust installation is modest and the payoff is real: faster loads, lower fire risk and less moisture in your walls. Your next step is to read your dryer manual, call your building department and sketch the route. If a duct is impossible, heat pump and condensing dryers skip it entirely. One Reddit owner reported longer dry times, which is anecdotal, so compare ratings before you buy. After install, test by feeling airflow at the hood and watching a normal load dry, and recheck the hood each spring.
For the other half of laundry day, see the picks in our best laundry detergent guide, and keep the repair guide above handy. So, which will you measure first: the wall or the run?